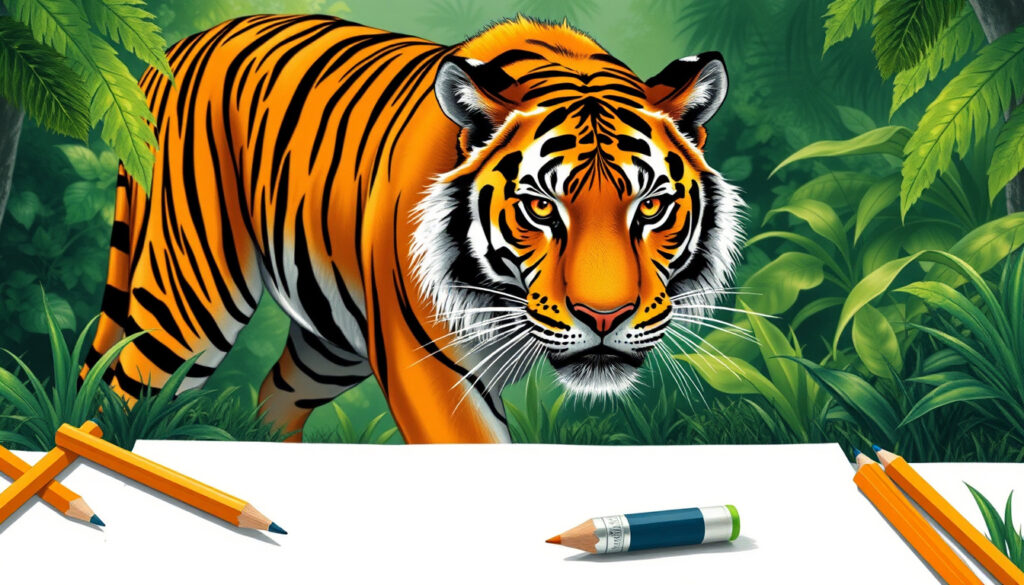
How to Draw a Tiger: 5-7 Easy Steps for Beginners
You don’t need artistic talent to draw a tiger—you just need a reliable construction method. By breaking the process into simple shapes—circles for the body and head, a few guide lines for the face—anyone can build a recognizable tiger in five to seven steps. This guide walks you through the exact method top drawing teachers use with beginners, from laying down construction lines to adding bold stripes that give the tiger its character.
Tiger length: up to 3.3 meters · Tiger weight: up to 300 kg · Typical drawing steps: 5-7 · Unique feature: stripe patterns · Best for ages: 5+
Quick snapshot
- Start with two circles as body guides (How2DrawAnimals beginner tutorial)
- Head circle is about half the size of the front body circle (YouTube colored pencil tutorial)
- Two intersecting lines place facial features accurately (How2DrawAnimals beginner tutorial)
- Which pencil grades work best for shading beyond HB
- Optimal time estimates for different skill levels
- Beginner-friendly tiger drawing guides expanded significantly on Easy Peasy and Fun and similar platforms between 2015–2025 (Easy Peasy and Fun kids tutorial site)
- Progress to realistic techniques with colored pencils and blending stubs
The table below summarizes the basic shape guides that form the foundation of every tiger drawing.
| Feature | Shape Guide |
|---|---|
| Head shape | Circle with cross guide |
| Ear shape | U-shape pair |
| Eye shape | Pointy ovals |
| Nose | Triangle with dot |
| Stripes | Curved bold lines |
How to draw a tiger easy way step by step?
The key to transforming simple shapes into a tiger is taking it slow, making sure your construction lines are all in the right place. Most beginner tutorials start with circles because they are forgiving and easy to adjust.
Gather your materials
- HB pencil for sketching
- Eraser and drawing paper
- Black marker or pen for final lines
- Colored pencils if adding color
You do not need expensive supplies. An HB pencil works well for creating stripes through scribbling back and forth, according to Gathered art and craft publication.
Outline the basic shapes
Draw two circles as guides for the tiger’s body—the first step confirmed by How2DrawAnimals beginner drawing tutorial site. The front body circle should be slightly larger. A second, slightly smaller circle goes to the left for the back portion.
A third circle about half the size of the first body circle goes above it as a guide for the head YouTube colored pencil tutorial. These circles do not need to be perfect—they are construction guides that get refined later.
Construction lines should be added to indicate main features and help check form and proportion before adjustment. Sketching lightly in the first few steps means it is easy to erase if a mistake is made Gathered art and craft publication.
Taking time with construction lines pays off—beginners who rush past this stage often end up redrawing entire sections.
Add facial features
Two intersecting lines inside the head help place the tiger’s facial features accurately How2DrawAnimals beginner drawing tutorial site. Two small arcs on top of the tiger’s head form the ears How2DrawAnimals beginner drawing tutorial site. The top of the head should be made flatter than the initial circle when drawing the final head shape.
Short angled lines below the ear create the furry side of the head YouTube colored pencil tutorial. The head connects to the body using sloping lines with slightly curved lines for the neck.
Draw the body and stripes
Lines connecting the circles form the tiger’s body structure How2DrawAnimals beginner drawing tutorial site. Long angled lines with bends to indicate joints serve as guides for front legs under the front part of the body YouTube colored pencil tutorial.
Hind leg guide lines should be slightly longer than front leg guide lines YouTube colored pencil tutorial. The top of each leg should be made wide and gradually made thinner toward the bottom.
Short curved lines along the edge of the foot create toes, with the top toe made small YouTube colored pencil tutorial. A curved line on the left side of the leg shape adds the pad on the foot.
A long curved line on the left side of the body serves as a guide for the tail, with the tip curved up YouTube colored pencil tutorial. Distinctive stripes added all over the body complete the look after inking the final lines with permanent ink.
Thick stripe lines on the tail contrast with the wide-base-to-pointy-tip shape on the body—each style serves a different visual purpose.
Shade and finalize
Weight should be added to sketches by applying darker tones while leaving some areas blank to indicate highlights Gathered art and craft publication. Mid-tones should be worked on to clarify main features before finishing with details.
Once these construction steps are down, it becomes easier to join up the shapes. When you add the ears, your tiger really starts to take shape Gathered art and craft publication. Clear construction should be prioritized over fine detail to make the tiger feel solid without getting overworked.
Beginners who invest five extra minutes in construction lines produce tigers that actually look like tigers.
How to draw a tiger face?
Tiger face drawing begins with making the head shape as the first step Easy Peasy and Fun beginner-friendly craft website. The face carries the most expression, so accuracy here matters most.
Sketch the head outline
Start with a circle guide for the head, slightly flattened at the top. Add the two small arc ears on top. Below each ear, draw short angled lines to suggest the fluffy fur around the face.
Position eyes and nose
Pointy ovals work well for tiger eyes—slightly angled to give a fierce but alert look How2DrawAnimals beginner drawing tutorial site. A triangle with a small dot in the center forms the nose. Two intersecting lines from the head guide help position these features symmetrically.
Tiger head details include a pair of eyes and eyebrows, nose, mouth and teeth, plus another set of round lines inside the ears Easy Peasy and Fun beginner-friendly craft website. Drawing one leg and a curved line for the tiger’s body makes drawing the tiger’s body easier Easy Peasy and Fun beginner-friendly craft website.
Add whiskers and stripes
Whiskers extend from the sides of the muzzle in groups of three or four on each side. Stripe patterns radiate from the eyes and across the forehead. The stripes here should be shorter and more concentrated than body stripes.
Detail the expression
The mouth curves slightly downward at the corners for a neutral expression, or more dramatically for a roar. Small triangular teeth show in the open mouth. Eyebrows are thick and angled inward to suggest the furrowed brow unique to tigers.
The pattern: face construction follows the same principle as body construction—guides first, details second. Skipping construction lines on the face almost always produces lopsided features that break the illusion.
How to draw a tiger for kids?
Kids respond well to simplification. A cartoon tiger removes the pressure of anatomical accuracy and lets young artists focus on fun shapes and bold colors Easy Peasy and Fun kids tutorial site. This approach works especially well for class 1 level students who are still developing fine motor control.
Simple cartoon version
- Large circle for head
- Smaller oval for body
- Two triangle ears
- Simple oval eyes with pupils
- Curved line for smile
This simplified version uses only four to five basic shapes. Kids can trace their own circles if freehand circles prove difficult. The focus shifts from accuracy to recognizable features.
Fun colors and patterns
Bright orange for the main coat, cream or white for the belly and face markings. Black stripes can be thick and rounded at the ends—less realistic but visually clear. Kids enjoy adding their own color choices rather than strict realism.
Class 1 level steps
Class 1 students benefit from step-by-step demonstrations where each shape is completed before moving to the next. Counting steps (“first we draw the circle, now we draw the ears”) helps young artists follow along Easy Peasy and Fun kids tutorial site.
Children aged five to seven have shorter attention spans for construction lines. The simpler cartoon approach captures their interest before frustration sets in, building confidence for more complex drawings later.
How to draw a tiger realistic?
Realistic tiger drawings demand more patience and technique. In this beginner-friendly drawing tutorial, you learn how to draw a realistic tiger step by step, starting with simple shapes to establish the body and proportions before building structure and form YouTube beginner step-by-step tutorial.
Proportions and anatomy
Realism requires understanding tiger anatomy. The head is roughly one-third the body length. The chest is broader than the abdomen. Legs are muscular, with visible joint separations. Tail comprises about half the body length.
A line from the head to the bottom part of the left leg creates the belly, and a hind leg should also be drawn Easy Peasy and Fun beginner craft website. These proportional relationships distinguish a realistic tiger from a cartoon version.
Blending for fur texture
Fur texture comes from careful layering with colored pencils. Base tones establish the orange coat. Successive layers add depth and variation. Blending stumps or tortillons work well for softening edges and creating the velvety appearance of tiger fur.
Colored pencil techniques
Colored pencils allow buildup of tone that mimics natural fur variation. Burnishing techniques add shine to the coat. White or cream highlights create the characteristic glow around the face and chest. Black areas use varied pressure to avoid flat, dead-looking patches.
Beginners often over-blend, losing the individual strand texture that makes tiger fur distinctive. Starting with simpler fur patches on the face before tackling the body reduces frustration and produces better results.
How to design a tiger?
Tiger design encompasses both the artistic process and creative variations. Design bundles and art lesson platforms offer structured approaches to tiger design, often breaking the process into four distinct stages that build on each other.
4 easy steps overview
The design process follows a consistent pattern: shapes, structure, details, refinement. Each stage builds on the previous, allowing artists to evaluate proportions before committing to final lines.
Variations: baby tiger cub
Baby tiger cubs offer a playful variation on the adult tiger design. Larger heads relative to body size, bigger eyes, and rounder features create the cutesy appeal that makes cub drawings popular. Stripe patterns remain similar but scaled proportionally smaller.
Understanding the adult tiger construction gives artists the foundation to modify proportions and create variations. Design flexibility comes from mastering the basics first.
Related reading: How to Find the Circumference of a Circle · Brick Bay Sculpture Trail
Frequently asked questions
What materials do I need to draw a tiger?
You need an HB pencil for sketching, eraser, drawing paper, and optionally colored pencils for adding color. A black marker or pen helps finalize lines after sketching.
How long does it take to draw a tiger?
A simple cartoon tiger takes 10-15 minutes. A detailed beginner drawing takes 30-45 minutes. Realistic colored pencil renderings can take several hours spread across multiple sessions.
Can beginners draw a realistic tiger?
Yes, beginners can produce recognizable realistic tigers by following construction-line methods. Realism requires more patience and technique, but the fundamental approach—shapes, structure, details, refinement—remains the same.
What colors for tiger stripes?
Tiger stripes are black or very dark brown. The orange coat uses vivid orange with variations of yellow-orange. Cream or white highlights appear on the face, chest, and inner legs.
How to draw tiger paws?
Start with the top of the leg made wide, gradually thinning toward the bottom. Short curved lines along the foot edge create toes, with the top toe smaller. A curved line on the left side of the leg adds the foot pad.
Differences between cartoon and realistic tiger?
Cartoon tigers use simplified proportions with larger heads, rounder features, and thicker stripes. Realistic tigers follow accurate anatomical proportions with detailed fur texture and subtle color variations.
Tips for shading tiger fur?
Use an HB pencil for initial scribble stripes. Build darker tones while leaving some areas blank for highlights. Work mid-tones before adding details. Blending stumps soften edges for a velvety appearance without losing texture.
More related posts
 1 Bedroom Apartment Auckland: Rentals from $380/Week
 Home and Land Packages – Complete 2025 Buyer Guide
 Apple Cider Vinegar Gummies – Do They Help With Weight Loss?
 What Time is Taco Tuesday in Steal a Brainrot? 3 PM PST / 6 PM EST
 Night at the Museum: Kids Guide, Sequels & Legacy
 Huggies Nappies Size 2 – Weight Range, Fit and Buying Guide
 PGA Tour Live Leaderboard – Real-Time Scores and Standings
 Jean Paul Gaultier Le Male – Classic Scent Guide 2025