How to Make Yogurt at Home: Easy Step-by-Step Guide
If you’ve ever paid $6 for a small container of Greek yogurt and wondered why something so simple costs so much, you’re not alone. Making yogurt at home takes less than 15 minutes of active time, requires just milk and a spoonful of starter, and gives you a fresher product than anything on supermarket shelves—without the added sugars that can send blood glucose levels spiking.
Key Ingredients: Milk and yogurt starter · Heating Temperature: 180°F · Minimum Equipment: Saucepan and container · Fermentation Time: 8-12 hours · Probiotic Benefit: Supports digestion
Quick snapshot
- Heat to 180°F kills competing bacteria (Kent Cooks)
- Live cultures need 108°F to 112°F to grow properly (Little Spoon Farm)
- Exact fermentation time varies by milk type and fat content (Little Spoon Farm)
- Step 1: Heat milk to 180°F
- Step 2: Cool to 110°F, add starter
- Step 3: Incubate 8-12 hours
- Step 4: Refrigerate 24 hours to set
- Strain for Greek-style thick texture
- Store up to 2 weeks refrigerated
Use this quick-reference table to check essential measurements before you start a batch of homemade yogurt.
| Label | Value |
|---|---|
| Starter Needed | 1-2 tbsp plain yogurt |
| Ideal Temp | 110°F for culturing |
| Yield from 1 Quart | 4 cups yogurt |
| Storage | 2 weeks refrigerated |
How to make yogurt at home step by step?
Making yogurt at home follows a straightforward process: heat milk, cool it down, add live cultures, and let fermentation do the work while you sleep. The results are fresher, more customizable, and free of the additives found in most commercial products.
Choose your milk
Whole milk with approximately 3.5% fat produces the richest, thickest yogurt, making it the preferred choice for most home makers (Luvele US). If you’re managing blood sugar, 2% milk offers a balance between richness and lower fat content. Avoid ultra-pasteurized milk, as the ultra-high heat treatment can prevent cultures from growing properly.
Scald the milk
Heat your milk to 180°F in a saucepan—this temperature kills any competing bacteria that might ruin your batch (Kent Cooks Blog). Hold it at that temperature for about 5 minutes without boiling, then remove from heat. For a university-tested approach, you can heat up to 200°F for 10-20 minutes, which also extends shelf life slightly (UAF Cooperative Extension Service). Never let milk boil, as excessive heat damages the proteins you need for proper thickening.
Cool and add starter
Let milk cool to 110°F before adding your starter—this is critical. According to the UAF Cooperative Extension Service (a university authority on food safety), temperatures above 115°F kill the beneficial bacteria before fermentation can begin (UAF Cooperative Extension Service). Use 1-2 tablespoons of plain yogurt with live active cultures per quart of milk. A small amount of nonfat dry milk powder stirred in can improve thickness, especially with lower-fat milks.
Incubate the yogurt
The culturing temperature must stay between 108°F and 112°F for yogurt bacteria to grow properly—too high inactivates them, too low prohibits growth entirely (Little Spoon Farm). For standard pasteurized milk, the UAF Cooperative Extension Service recommends incubating 4-7 hours until the yogurt reaches pH 4.6, when it sets firm (UAF Cooperative Extension Service). Raw milk yogurt may require 8-24 hours. An Instant Pot on yogurt mode, an insulated cooler with warm water, or even a dehydrator set to 110°F all work as incubation setups without buying a specialty machine.
A yogurt maker costs $30-100, but a $15 instant-read thermometer does the same job. If you already own an Instant Pot, use its yogurt function and skip the single-purpose appliance entirely.
The narrow 4°F temperature window means precision tools matter more than expensive equipment. Mediterranean Diet Meal Plan: 7-Day Beginner Guide readers who track blood sugar will appreciate how a simple thermometer prevents wasted batches.
What is the best milk for homemade yogurt?
Your milk choice affects texture, nutrition, and how well the finished product works for blood sugar management. Not all milk behaves the same way in the culturing process.
Whole milk vs skim
Whole milk yields the thickest, most satisfying yogurt because its fat content coats the palate and contributes to a creamy mouthfeel. Skim milk produces thinner yogurt that many people find less appealing, though you can compensate by adding milk powder during heating or straining the finished product. For diabetics who prefer lower fat intake, 2% milk strikes a reasonable middle ground.
Avoid ultra-pasteurized
Ultra-pasteurized milk (marked UHT or “ultra-pasteurized” on the carton) has been heated to 280°F or higher during processing. This extreme treatment denatures milk proteins so thoroughly that beneficial cultures often fail to propagate. For reliable results, choose milk with “pasteurized” labeling rather than “ultra-pasteurized” (Little Spoon Farm).
The fat content doesn’t dramatically alter blood glucose impact—it’s the added sugars in flavored commercial yogurts that pose the real risk for diabetics.
Choosing pasteurized over ultra-pasteurized milk eliminates one variable that can ruin an entire batch before fermentation begins.
Is homemade yogurt more healthy?
Homemade yogurt offers measurable advantages over most store-bought options, particularly for anyone monitoring blood sugar levels.
Probiotic content
Fresh homemade yogurt contains live bacterial cultures that support digestion—a benefit recognized by health authorities and confirmed by the Mayo Clinic. Commercial yogurts pasteurize after culturing, which kills many of those beneficial organisms. Longer fermentation time, up to 20 hours for raw milk yogurt, actually reduces lactose content as bacteria consume it, making the final product easier to digest for those with lactose sensitivity (Little Spoon Farm).
No additives
Store-bought fruit-flavored yogurts frequently contain over 46 grams of added sugar per container—more than twice the daily recommended limit for diabetics. Plain homemade yogurt contains no added sweeteners, giving you complete control over what goes into your body. Fruit-flavored yogurts are the most popular and least healthy options for blood sugar management.
You trade 5 minutes of active cooking for a product that has zero added sugars, maximum probiotic live cultures, and a freshness date of just hours instead of weeks of shelf time.
Diabetics who prioritize probiotic benefits get more live cultures from a single homemade batch than from weeks of commercial yogurt consumption.
How to make Greek yogurt from milk?
Greek yogurt is simply regular yogurt with the whey strained out, concentrating protein and reducing carbohydrates in the process.
Strain after fermentation
Line a colander with cheesecloth or a coffee filter and let your finished yogurt drain for 30 minutes to several hours, depending on how thick you want the final product (Kent Cooks Blog). The liquid that drains off is whey—nutritious but not what you want in thick Greek-style yogurt. A standard recipe uses 4 cups of whole milk cultured into regular yogurt, then strained for a richer result.
Double the starter
Some makers recommend doubling the starter amount for Greek-style yogurt—2 tablespoons instead of 1 per 4 cups of milk—to compensate for the protein concentration that occurs during straining. Adding a teaspoon of gelatin before refrigeration also helps achieve a firm consistency without the time-consuming straining process.
What is the best yogurt for type 2 diabetes?
Plain Greek yogurt ranks among the best dairy choices for blood sugar management, but not all yogurts are created equal.
Low-sugar options
Fruit-flavored yogurts from the grocery store frequently spike blood glucose because manufacturers add sugar to improve taste after removing fat. Plain yogurt—homemade or store-bought—avoids this trap entirely. Greek yogurt has lower carbohydrate content than regular yogurt due to the straining process, which removes whey containing most of the lactose.
Probiotic effects
Studies suggest that regular yogurt consumption supports healthy gut bacteria, which may improve insulin sensitivity over time. The live cultures in homemade yogurt do the work of breaking down lactose, so your digestive system has less lactose to process—a benefit that compounds with every serving.
Homemade yogurt has no added sugar, but the milk itself contains natural lactose (about 4.8% by weight). Fermentation reduces this over time—longer culturing means less lactose remaining. If you have severe lactose intolerance alongside diabetes, opt for extended 20-hour fermentation batches rather than the minimum 8-hour standard.
Diabetics who ferment their yogurt for the full 20 hours get a product that is significantly lower in lactose than commercial alternatives, reducing the risk of both blood sugar spikes and digestive discomfort.
Yogurt making tools and equipment
You don’t need a yogurt maker to make great yogurt at home—most people already own everything required.
- Saucepan: For heating milk to 180°F
- Thermometer: Essential for hitting the 108°F-112°F incubation sweet spot
- Container: Glass jars or ceramic bowls work well for culturing
- Insulated cooler or Instant Pot: For maintaining consistent incubation temperature
- Cheesecloth: For straining Greek-style yogurt
The UAF Cooperative Extension Service notes that an insulated cooler filled with warm water can maintain 110°F for hours without electricity—useful if you’re making yogurt in a cabin or off-grid kitchen. Egg Fried Rice Recipe – Perfect Non-Sticky Results enthusiasts who appreciate simple, equipment-minimal recipes will find yogurt making equally approachable.
The temperature must be 108°F to 112°F for yogurt bacteria to grow properly. Too high a temperature inactivates bacteria; too low a temperature prohibits growth.
— Washington State University Extension via Little Spoon Farm
Yogurt should set firm when the proper acid level is achieved (pH 4.6).
— UAF Cooperative Extension Service
Fruit-flavored yogurts are the most popular, and least healthy for diabetics.
— Kent Cooks Blog (Kent Cooks)
For people with diabetes, the choice to make yogurt at home is clear: skip the sweetened commercial products, control your ingredients, and get the probiotic benefits without the blood sugar spike. Start with one quart of whole milk, a tablespoon of plain starter, and 8 hours of patience—you’ll wonder why you ever bought it from a store.
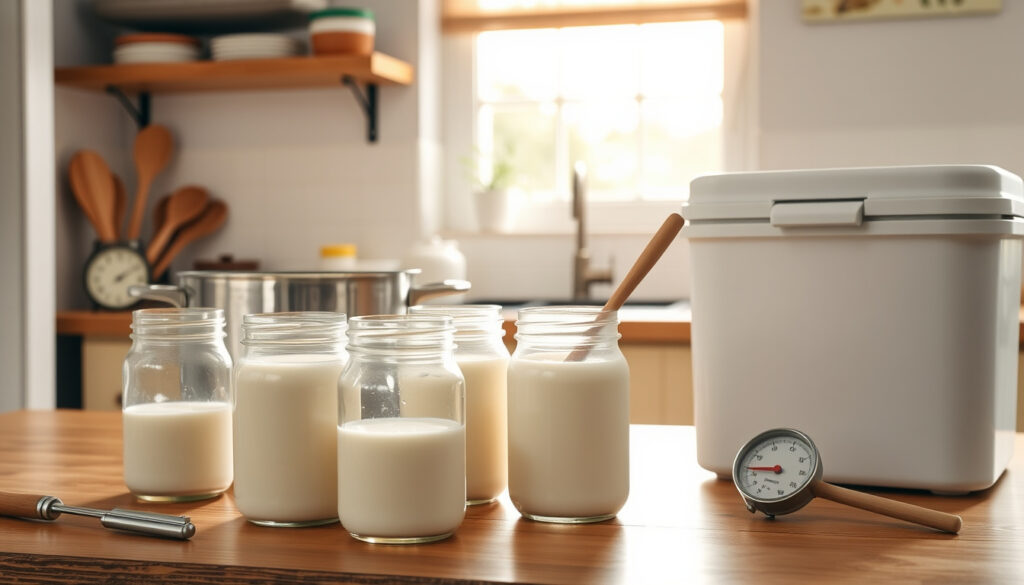
The yogurt-making process transforms simple milk and starter into probiotic-rich yogurt through careful heating and incubation over several hours.
Frequently asked questions
How to make yogurt at home with two ingredients?
You need only milk and a spoonful of plain yogurt with live active cultures. Heat 1 quart of milk to 180°F, cool to 110°F, stir in 1-2 tablespoons of starter yogurt, and incubate at 110°F for 8-12 hours. That’s it—no additives, no equipment beyond a saucepan and thermometer.
What kills bacteria in yogurt?
Temperatures above 115°F kill the beneficial bacteria before fermentation begins. Always cool heated milk to 110°F before adding your starter culture. Boiling milk also damages the proteins needed for proper texture.
Does yogurt help fight infections?
The live cultures in yogurt support gut health, which plays a significant role in immune function. While yogurt isn’t a treatment for infections, regular probiotic consumption from fresh homemade yogurt may support your body’s natural defenses.
What yogurt won’t spike blood sugar?
Plain Greek yogurt with zero added sugar has the lowest glycemic impact among yogurt options. Homemade plain yogurt gives you maximum control—you know exactly what’s in it with no hidden sweeteners.
How to make yogurt at home Indian style?
Indian-style yogurt (dahi) typically uses whole milk for a thick, rich result. Heat milk, cool to lukewarm, add a tablespoon of existing dahi or yogurt as starter, cover, and let sit in a warm spot for 6-8 hours. Some cooks wrap the container in a towel to retain warmth during incubation.
Can you use powdered milk for yogurt?
Yes—reconstituted nonfat dry milk can work, though results vary. For best texture, use whole milk powder reconstituted with water, or add 2-3 tablespoons of nonfat dry milk powder to fresh liquid milk before heating to improve thickness.
What should diabetics drink first thing in the morning?
Plain water with lemon, unsweetened herbal tea, or a small serving of plain Greek yogurt are all blood-sugar-friendly options. Avoid fruit juices, sweetened beverages, and flavored yogurts first thing in the morning when blood glucose management matters most.
Diabetics who adopt the homemade yogurt habit gain a protein-rich, probiotic-packed breakfast option that won’t trigger blood sugar spikes—a practical daily advantage over relying on commercial products.
More related posts
 Laura Mursell Fined $16,250 for Cutting Neighbour’s Protected Tree
 How to Draw a Tiger: 5-7 Easy Steps for Beginners
 Auckland to Kuala Lumpur Flights: Time, Prices & Airlines
 2025 U.S. Open Golf Leaderboard: Final Results & Winner
 Millie Elder-Holmes – Laxative Poisoning Case and Sentence
 Black Running Shoes Women: Best Picks & Expert Guide
 Can I Run It? Check Game Compatibility on PC, Mac, Laptop
 A Thousand Boy Kisses: Summary, Age, Spice & Sequels